Selecting Elements for Personalization
Back to Documentation
Quick Reference
- Understanding HTML Element Selection
- Using Setup Mode to Find Elements
- Adding Selectors to the Personalization Editor
- Common Element Types to Personalize
- Headings (h1, h2, h3)
- Call-to-Action Buttons
- Product Descriptions
- Banner Messages
- CSS Selector Syntax
- Basic Selectors
- Combined Selectors
- Selection Best Practices
- Troubleshooting
- Advanced Selection Techniques
Understanding HTML Element Selection
SwapTopic personalizes content by targeting specific HTML elements on your page. The right element selection is crucial for effective personalization.
Using Setup Mode to Find Elements
The easiest way to select elements is with Setup Mode:
- Enable Preview Mode in your Settings tab
- Go to your site and add
?swaptopic=setupto the URL - Hover over any element to see its selector highlighted
- Click an element to copy its selector to the clipboard
- Use this selector when creating personalizations
Learn more about SwapTopic Settings.

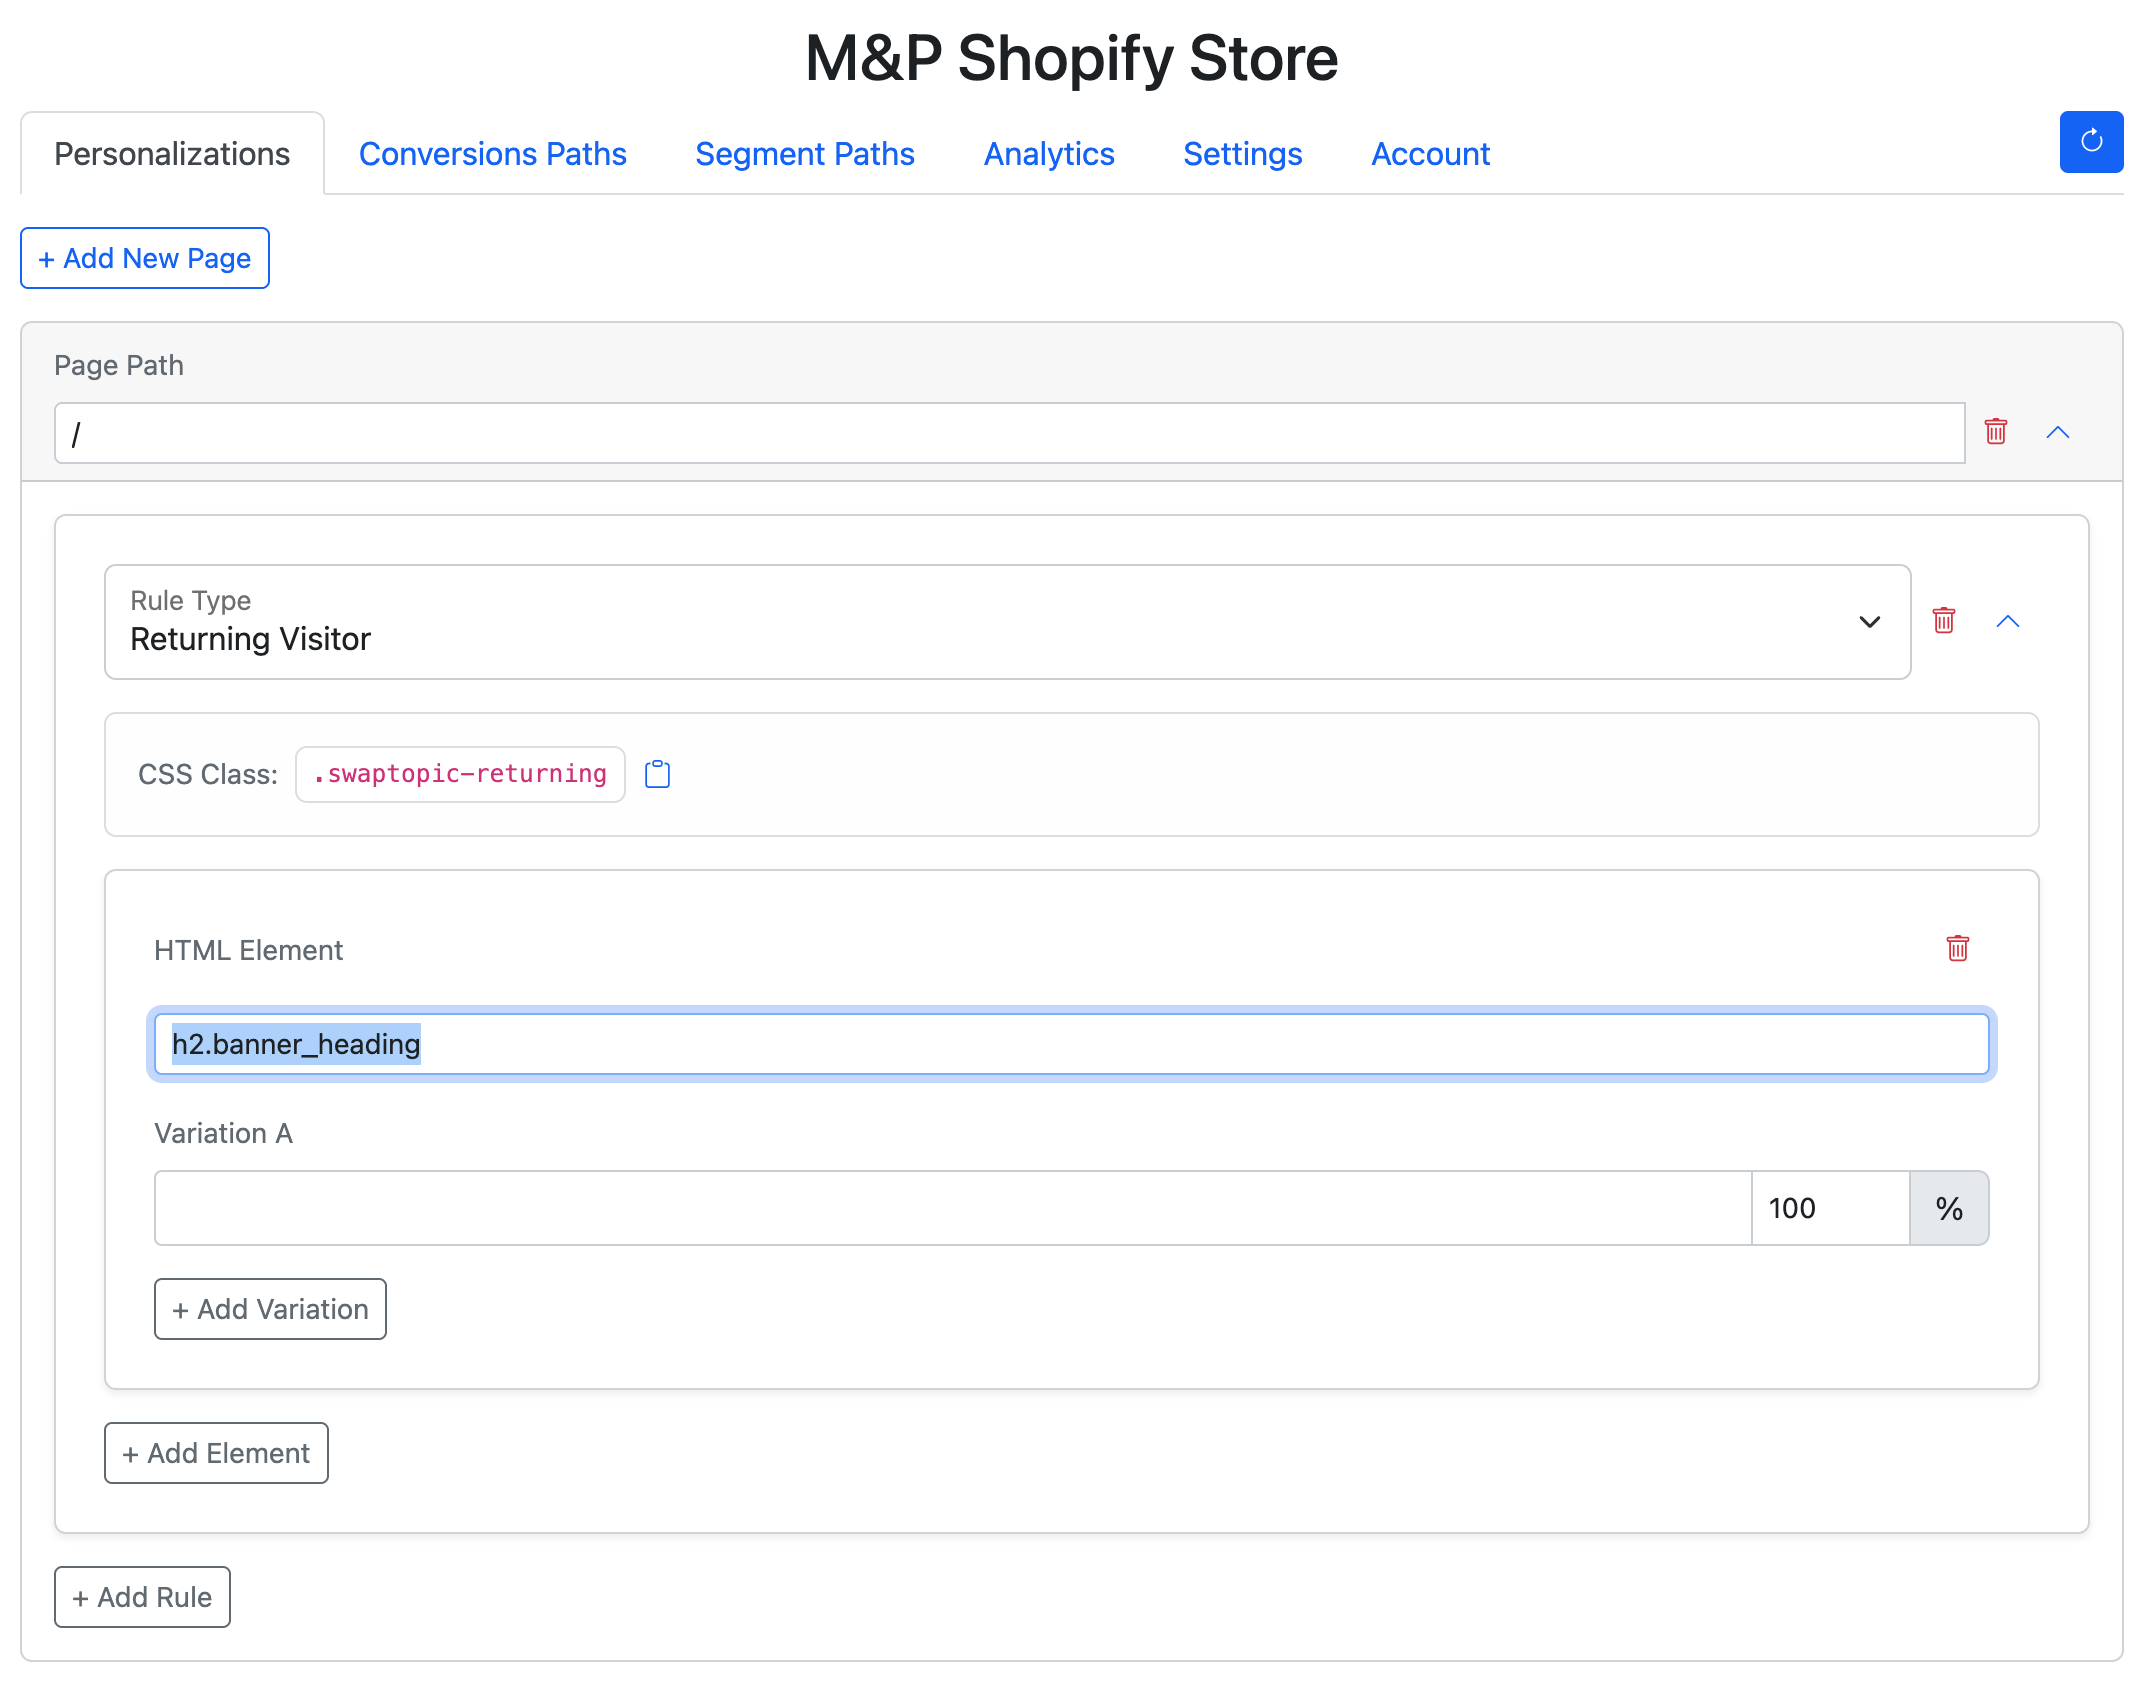
Adding Selectors to the Personalization Editor
Once you’ve copied a selector using Setup Mode or developer tools:
- In your SwapTopic dashboard, navigate to Personalizations
- Create a new page path or select an existing one
- Add a rule (e.g., Returning Visitor, First Time Visitor)
- In the HTML Element field, paste your copied selector
- The field accepts any valid CSS selector: IDs, classes, or tag names
Common Element Types to Personalize
Headings (h1, h2, h3)
h1
h2.banner_heading
.hero h1
Ideal for personalizing page titles and section headings.
Call-to-Action Buttons
.cta-button
button.add-to-cart
a.signup-link
Personalize button text for different visitor segments.
Product Descriptions
.product-description
#product-features
div.details p
Highlight different benefits for different audiences.
Banner Messages
.announcement-bar
#special-offer
header .message
Show timely messages to specific visitor segments.
CSS Selector Syntax
Basic Selectors
- Tag selectors:
h1,button,p - Class selectors:
.hero-title,.cta-button - ID selectors:
#main-heading,#signup-form
Combined Selectors
- Target specific elements within containers:
.hero h1 - Target elements with multiple classes:
.btn.primary - Target elements with specific attributes:
a[href="/sale"]
Selection Best Practices
- Choose stable elements: Select elements that don’t change position or disappear
- Be specific enough: Avoid overly generic selectors like just
pordiv - Test your selectors: Use preview mode to verify your selection works
- Consider mobile views: Ensure selected elements exist on mobile versions
- Prioritize important elements: Focus on high-impact areas like headlines and CTAs
Troubleshooting
If your personalization isn’t appearing:
- Verify the element exists on the page
- Check for typos in your selector
- Ensure the selector is specific enough
- Use browser developer tools (F12) to inspect the element
- Try the Setup Mode to get the exact selector
Advanced Selection Techniques
For complex sites, use these techniques:
- Nth-child selectors: Target specific items in a list with
.product:nth-child(1) - Direct child selectors: Use
>to select immediate children:.container > h2 - Multiple elements: Select several elements with commas:
h1, .title, #header
Remember that simpler selectors are generally more stable against site updates.